Thursday, June 22, 2017

Tidewater Tee + Bonus Back Hack

Hey there strangers! Did you miss me?

Did you think I dropped off the face of the Earth? Went off on a world adventure? Had another child or 2? Became a productive member of society, perhaps?


I'm here to tell you that I did none of those things! Huzzah!


But that doesn't matter because I'm back now. Over the next few weeks I'll be updating the look of the site. I'll also be posting more... sewing, cooking, household hacks that may or may not work, whatever Pinterest project I've managed to screw up. I may even bust out some power tools from time to time.

Be afraid; be very afraid...

Anyway, Let's get to the star of the show. I was recently given the opportunity to test out the new Tidewater Tee over at Winter Wear Designs. It's friggin' cute; you should totally check it out. It's an extremely versatile tee with 2 neckline options and 3 different sleeve options. It's semi loose, ridiculously comfortable, and super cute. It's on sale for $7.50 until Sunday...just sayin'


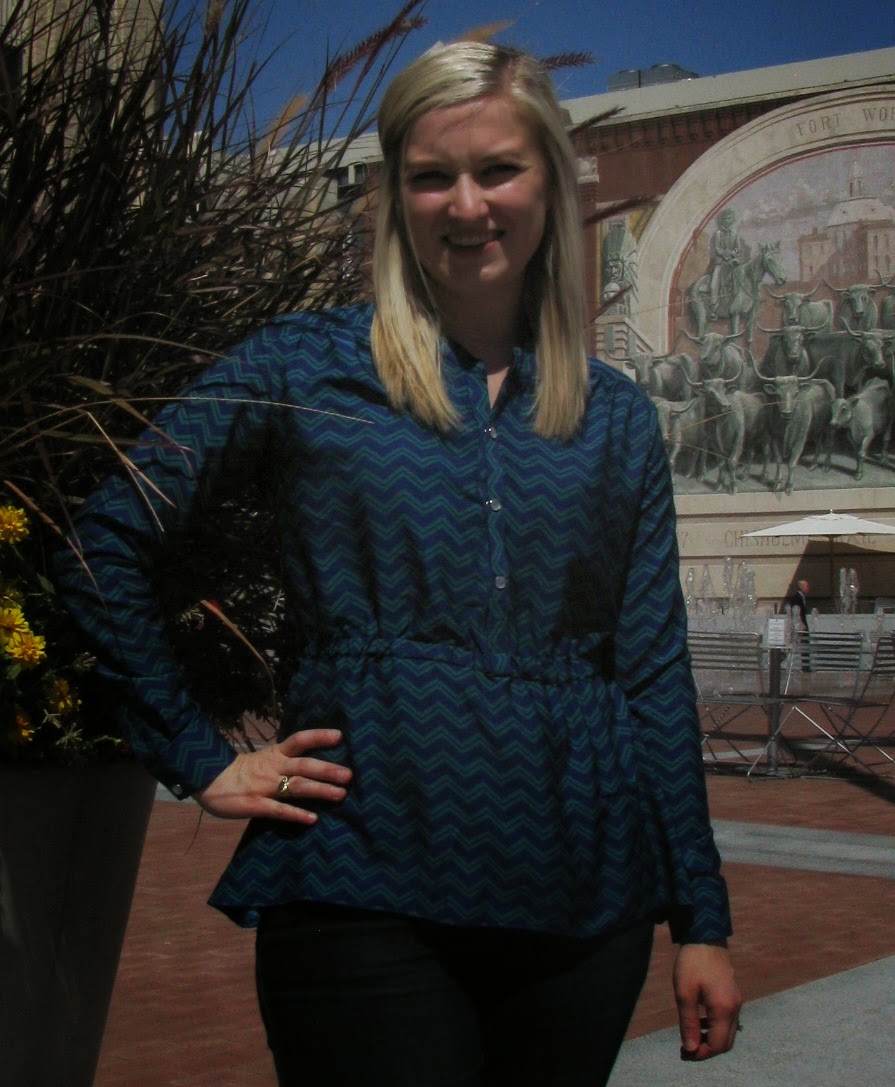
I sewed up a total of 3 versions. First up is this blue cold-shoulder top with the high neckline. This was one of the earlier versions of the test, so you can see how the fit is perfected toward the end of my post. I love this shirt. Definitely one of my new favorites. Bonus points - you can totally wear a bra with it!


Look! You can't see my bra from the back! I call that a win!


Version 2: The final version of the same exact top. Not only is the fit perfected, but fabric choices completely change the look of the pattern.


I would also like to note that I'm getting better in front of the camera. While I cannot promise no awkward faces or poses, I can at least assure you that there will be (slightly) less of them.

No promises! I'm a totally GOOBER!!

Saving my personal favorite for last: tulip sleeve high neck with a draped back modification:


OK, you might not be able to wear a normal bra with this hack, but it's totally worth it.

Because everyone loves more pattern options, I'm going to give you a good ole-fashioned tutorial. It's surprisingly easy.

Normally you would lay out your pack pieces like so:


Instead of matching the fold line of the pattern piece to the fold line of the fabric, you will only match the bottom corner of the back piece to the fold of the fabric, then rotate the pattern piece outward. The more you rotate, the more the fabric will drape at the back. You will then "drop" the center dip of the pattern to the desired scoop. The more you scoop, the more back will be showing. Mark a straight line from the far bottom corner to the fold. The new cutting layout for the back piece will look something like this:


Now you simply follow the pattern as written.


Yes, that's it.


Yes, it really was that easy.


No go on and show off your back! And stay tuned next week as I attempt another hack on this pattern and pinterest tutorials involving my hair.

BOOM!


Friday, February 20, 2015

All About that Applique

This is the adorable outfit I made for Mr. Man for the February challenge of Project Run & Play.

Here's my version of the Mademoiselle Muscle Tank from Living with Punks. I made it smaller, raised the neckline, and added a Homestar Runner Applique. Who remembers Homestar Runner? Just me? Seriously.


The applique was made using quilting cotton, heat n bond, and the triple stitch on the sewing machine. I hand stitched the eyes. I'm pretty proud about how well it turned out.

In the spirit of the challenge, the pants are modified from Living with Punks Shortcake Knickers. I added pockets, piping, and a reverse appliqued star beneath the pockets. I also graded it slightly larger so that I could use a sweatshirt knit, raised the waist by 2 inches so that I could just fold over, stitch, and insert elastic for the waist, and I let the hem hang for a more boyish look.


Also, in the spirit of using free patterns, I used the Slouchy beanie from HeidiandFinn. I also added a reverse appliqued star on the side.


Monday, October 6, 2014

8 Days A Week

It's been a while, folks. A lot has happened in the time that I've been away. I got to pattern test for Pattern Anthology again. YAY! They really are the coolest group of ladies ever.

But...

Just a short month after I bought the camera, a gust of wind knocked my tripod over and shattered the poor new camera. I pre-appologize for the poor quality of the following photos.

I also got a new, fancier job. Yay!

Which makes me busier... boo

My baby started a weekday school and a basketball program. They grow up so fast.

Then my poor car was totaled. Thus I have to put of purchasing a new camera for purchasing a new car. Whew!

So on to fun stuff. Only a few hours left, so act fast! Behold the terrible photos of an awesome collection.


Saturday, July 26, 2014

MAKE [BELIEVE] - The Imagine Jacket


Last, but certainly not least, from the MAKE [BELIEVE] collection is the Imagine Jacket. This is the first of the collection that I got to sew, yet the last I review. The latest Pattern Anthology Collection is only available until Monday, so get it while you can. It's totally worth it!


As for the pattern, it is a light jacket with 3 piece sleeves and 2 different options. I sewed version A, with cool side patches and three welt pockets. It was surprisingly easy and quick, considering that it had 3 welt pockets, 3 piece sleeves, and was fully lined. An advanced beginner could totally sew this one.


Even though this is intended to be a light jacket, I used thick corduroy and made it more of a thicker coat. I love coats; you know this.


This particular version was modeled after a jacket owned by one of Mr. Man's great grandfathers. He was a Hump Pilot during WWII. For the short time that I knew him, he would often wear an old leather bomber jacket.  Here's a link to a fascinating article about bomber jacket art, in case you're interested.


*Actually, 2 of Mr. Man's Great Grandfathers were Hump Plots during WWII, but I don't remember ever seeing my grandfather's jacket.*


Another fun fact for you, maps were often sewn into the lining of the bomber jackets in case they were shot down in enemy territory and had to navigate back. So, for the lining, I used this vintage looking map fabric. I think the lining ties the whole look together.


 I think that about sums it up! Enjoy a few more pictures and be sure to check out the MAKE [BELIEVE] collection before it disappears on Monday.